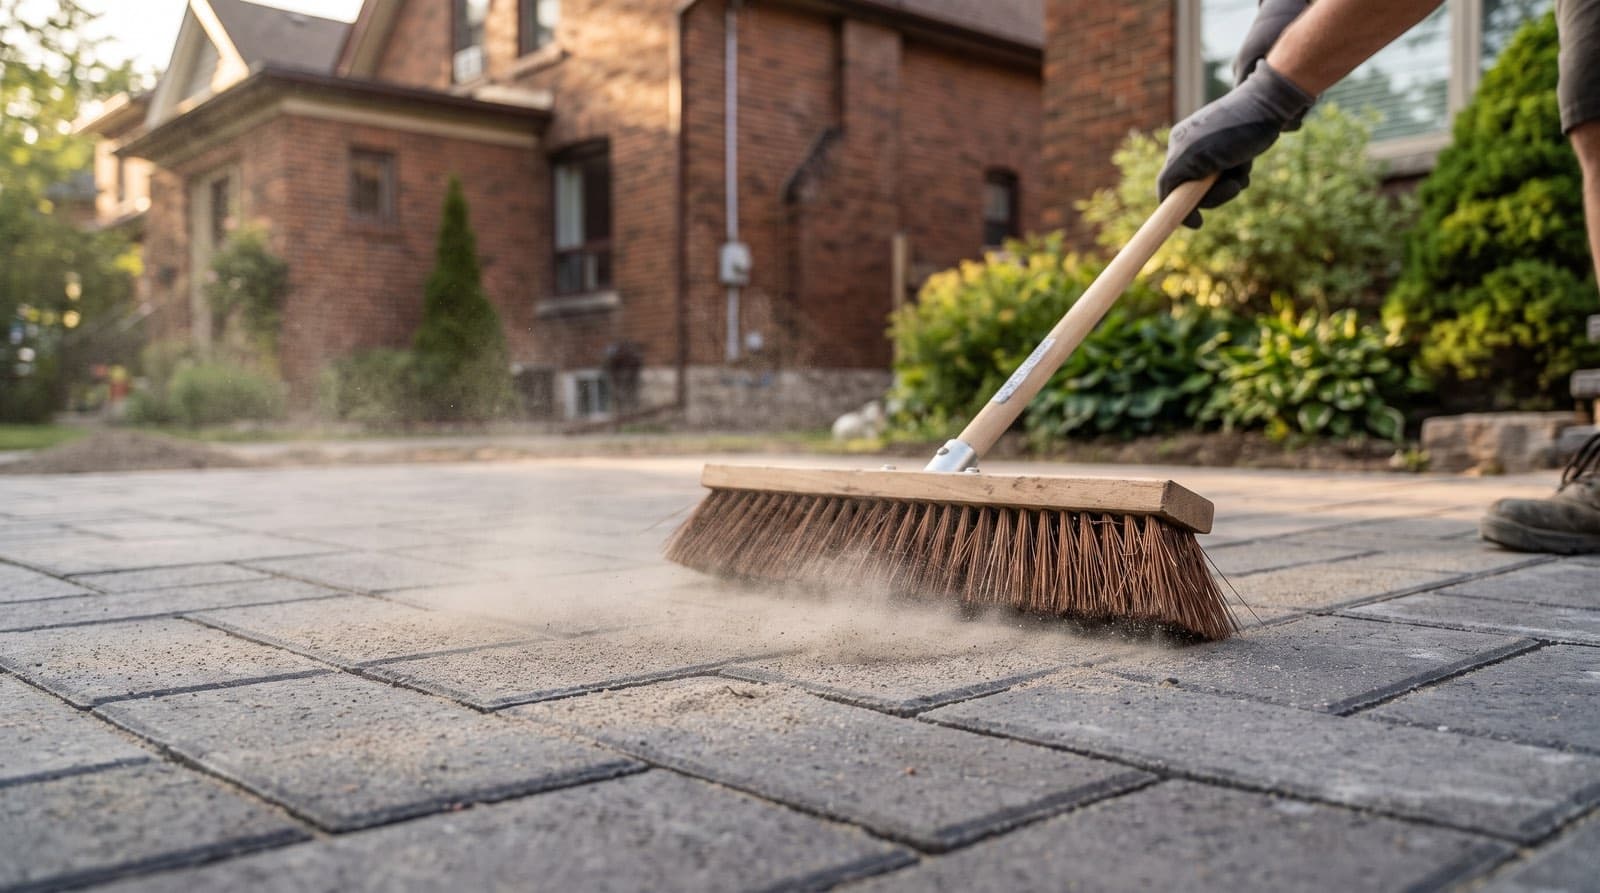
Answer First: Polymeric sand is jointing sand mixed with binding polymers that harden with water to lock pavers and block weeds, but it only works if installed right. The process is: start with completely dry pavers and joints, sweep the sand in and compact it until the joints are full, remove every grain of excess from the surface, then activate with a light water shower about 200 sq ft at a time. Install between 0 and 32 C, keep it above freezing for 48 hours, and off traffic for 48 to 72 (Techniseal). The most common failure, a permanent white haze, comes from leaving excess sand on the pavers before watering.
Polymeric sand is the step where good paver jobs are won or lost. The pavers can be perfect, but if the sand goes in wrong, you get weeds, washout, or a chalky haze bonded to the stone that no amount of scrubbing removes. The material is forgiving to buy and unforgiving to install.
What is polymeric sand?
Polymeric sand — a fine jointing sand blended with binding polymers that harden when activated with water, gluing the joints between interlocking pavers so the surface locks together and resists weeds, ants and washout. Plain sand washes out and lets weeds in; polymeric sand sets into a firm, flexible joint.
That hardening is the feature and the trap. Because it bonds permanently once wet, every mistake before the water goes on is locked in too. Get the sequence right and the joints last for years; get it wrong and you are lifting pavers to start over.
How do you install polymeric sand?
In a strict order, and the order is the whole job. Rushing or reordering any step is how installs fail.
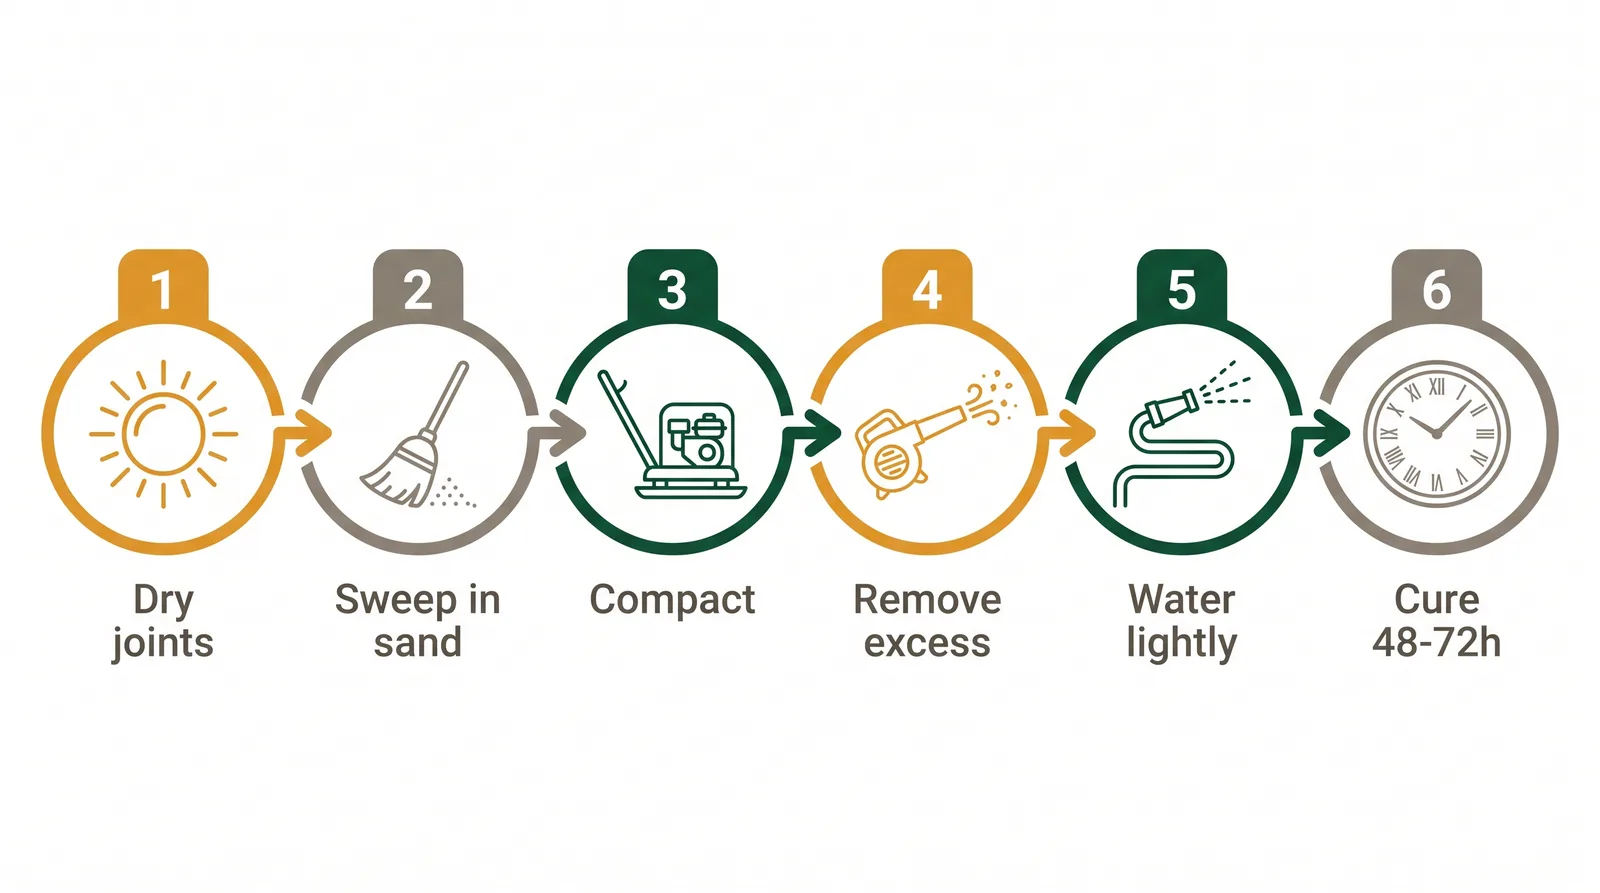
- Start dry. Pavers and joints must be completely dry, and the forecast clear, before you begin (Techniseal).
- Sweep the sand into the joints with a stiff-bristle broom, pushing it over short distances until the joints are full.
- Compact with a plate compactor or roller to settle the sand, then sweep in more and repeat until the joints are saturated to depth, following ICPI compaction practice.
- Remove every grain of excess from the paver faces with a broom and a leaf blower, leaving the sand slightly below the top of the pavers. This is the step people skip, and it is the one that causes haze.
- Activate with a light water shower, working about 200 sq ft (20 m2) at a time and starting from the bottom of any slope, until the joints are saturated but not flooded.
- Let it cure. Keep vehicle traffic off for 48 to 72 hours.
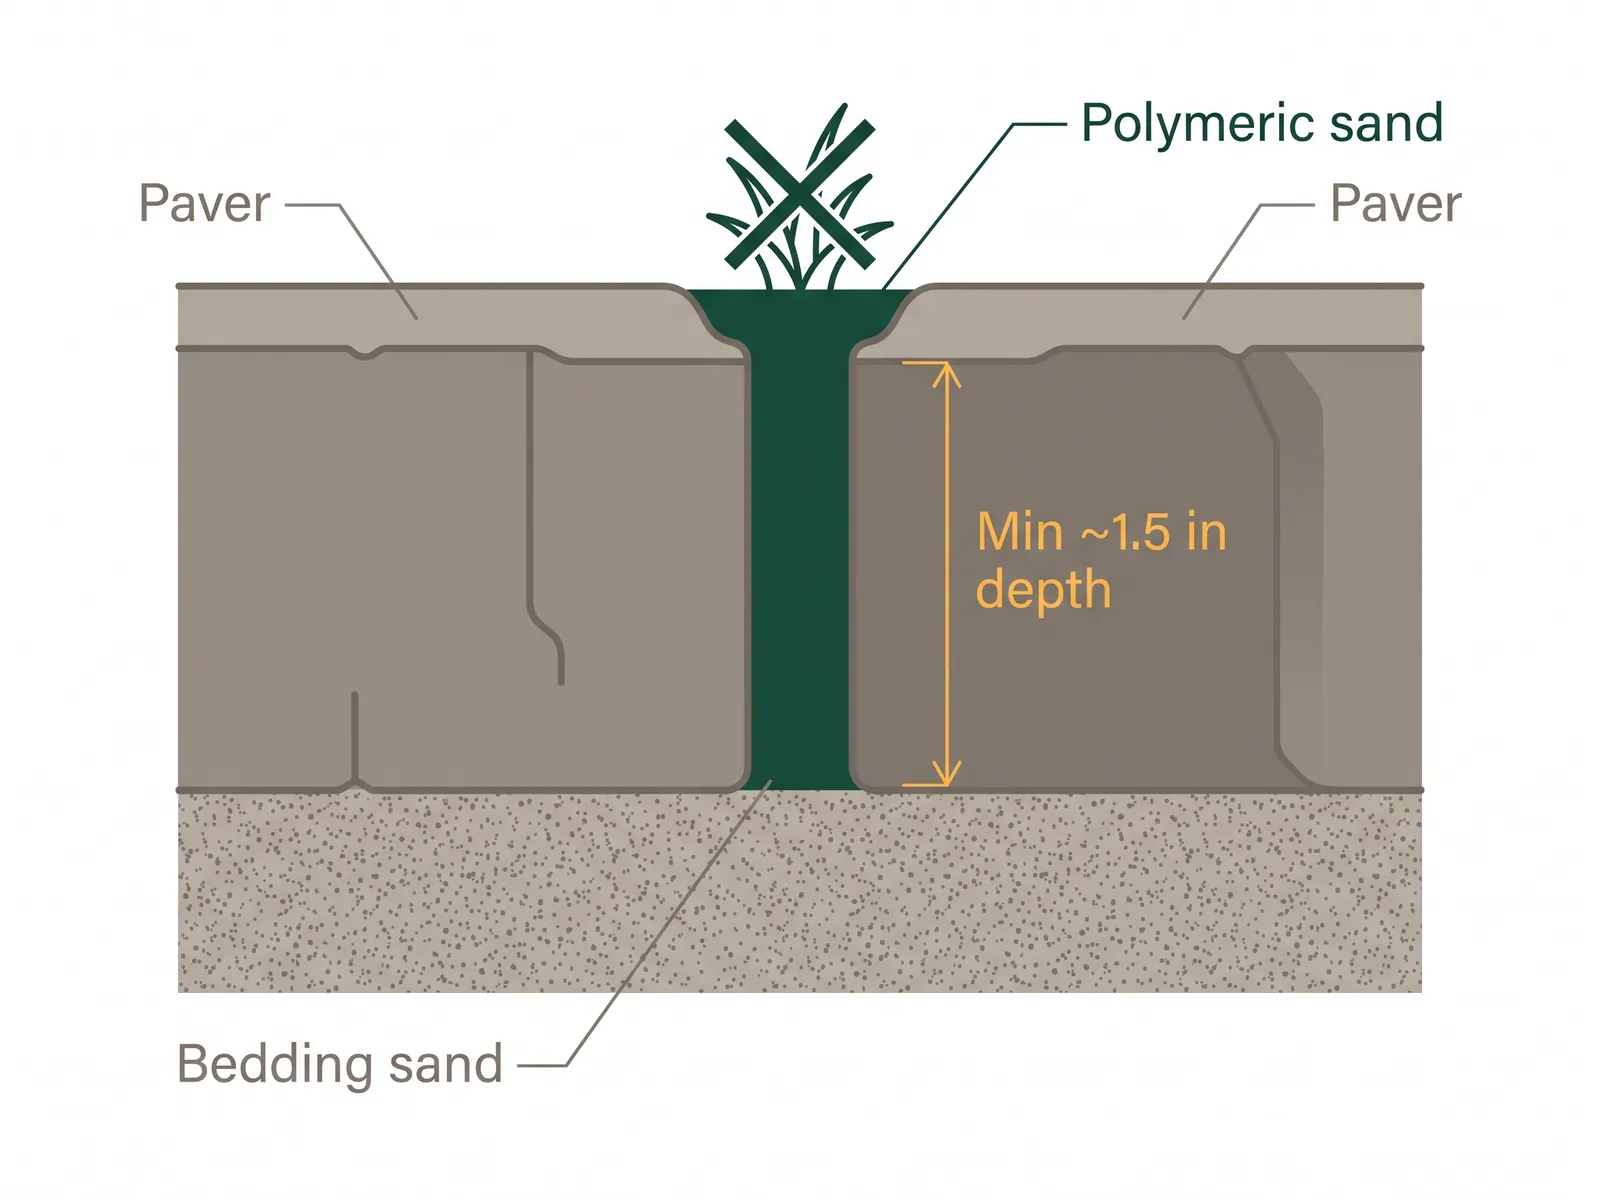
Joint depth — the sand needs a minimum joint depth of about 1.5 inches (4 cm) to hold; shallow joints do not give the sand enough body to lock the pavers.
Quotable: The order is everything with polymeric sand: dry, fill, compact, then remove every grain of excess before adding water. Water bonds whatever is on the surface, so sand left on the pavers becomes a permanent haze.
Why does polymeric sand leave a haze, and how do I avoid it?
Because excess sand was still on the pavers when the water hit. The polymers do not know the difference between sand in the joint and sand on the face; both harden, and the film on the stone becomes a chalky haze that is extremely hard to remove (Techniseal).
Avoiding it is entirely about preparation, not repair. Blow and sweep the paver faces clean before activating, do not apply it to damp pavers, and do not overwater, since flooding both washes the polymers out of the joint and floats residue onto the surface. Haze is a preventable install error, not a product defect.
From the data: YardQuote tracks 503 interlocking contractors across the GTA (July 2026), 464 with three or more reviews at an average of 4.73 stars, and many offer a standalone sand-and-seal service. If a haze or weed problem has already set in, that service, roughly $1.35 to $2.50 per square foot, is often cheaper than a DIY redo gone wrong.
What are the mistakes that ruin a polymeric sand job?
Five, and all of them happen before the sand cures.
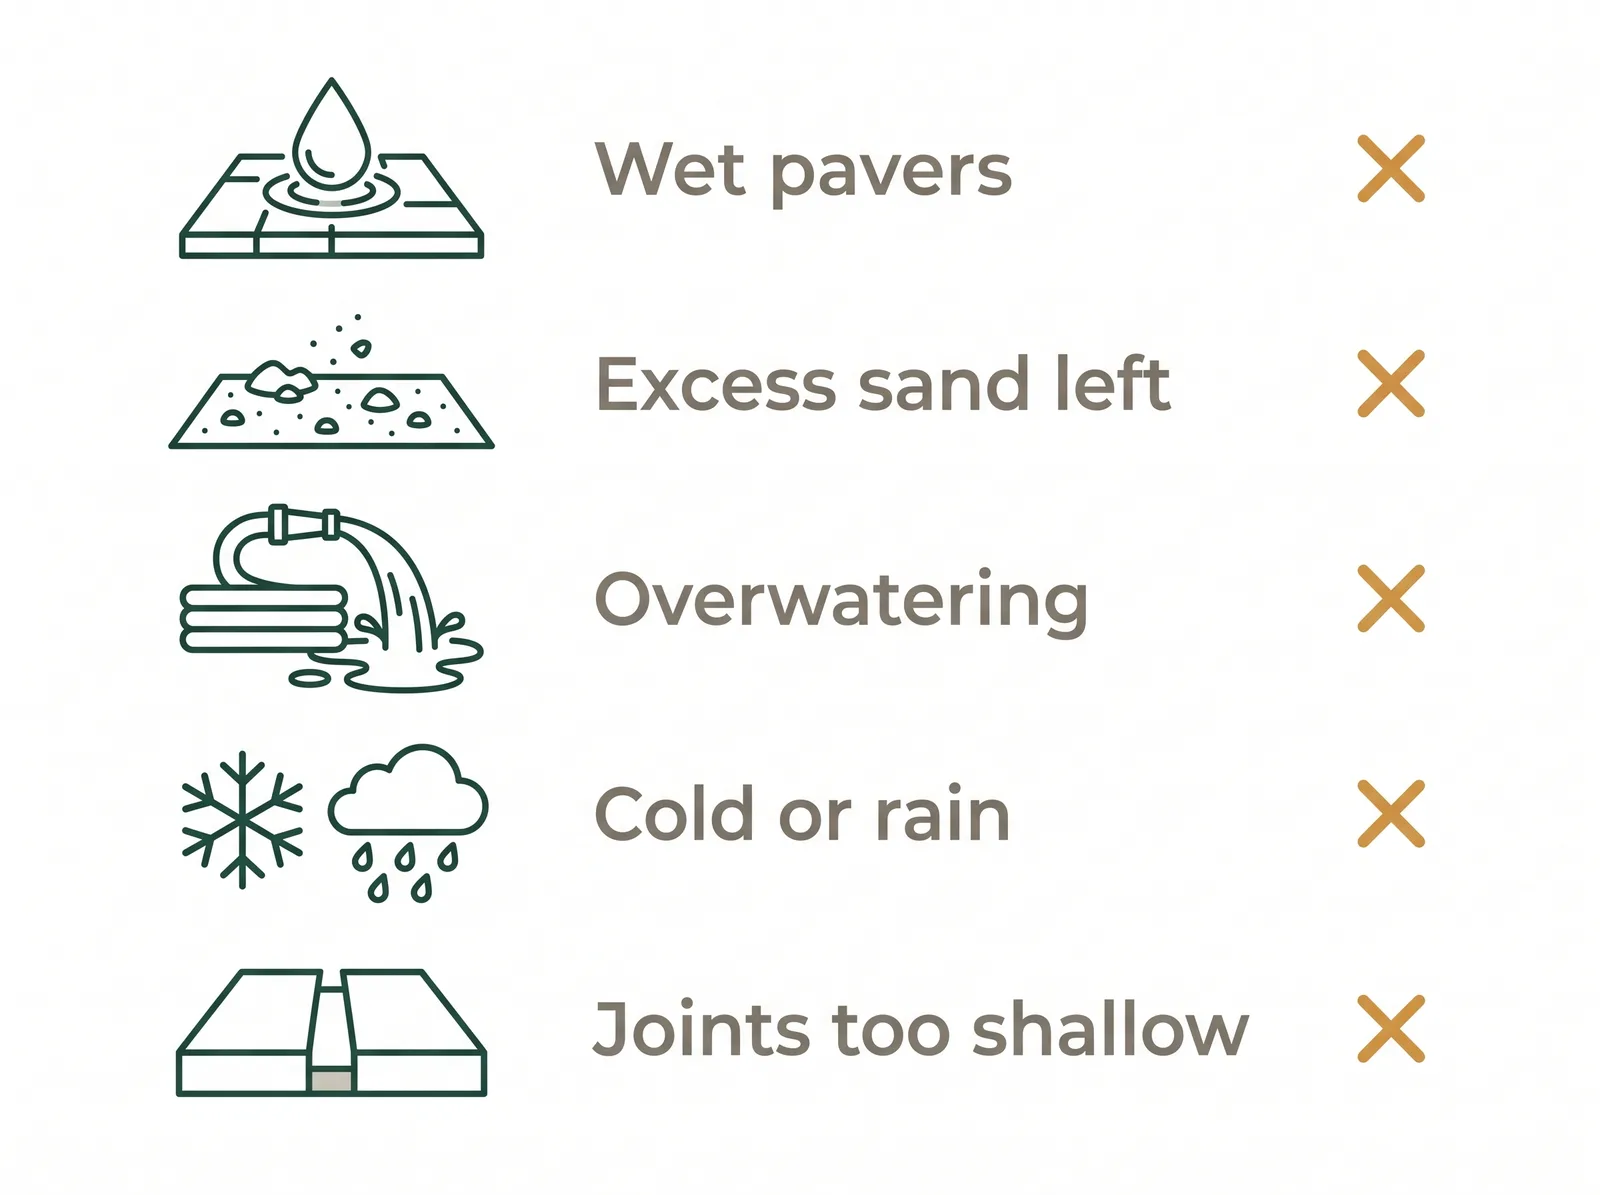
- Applying to wet pavers or joints, which sets the sand before it is in place.
- Leaving excess sand on the surface, the number-one cause of haze.
- Overwatering, which washes the polymers out and leaves weak, sunken joints.
- Installing in the cold or before rain. Stay within 0 to 32 C and keep it dry until cured.
- Joints too shallow. Under about 1.5 inches, the sand cannot lock the pavers.
What does this mean for a Toronto job?
Two things: timing and salt. Polymeric sand needs warm, dry conditions, so the GTA window is roughly April to November, and you always check the forecast because rain before curing ruins the joints. And because de-icing salt is the main thing that breaks down joint sand here, plan to re-sand every two to three years to keep the joints tight.
Fresh polymeric sand is also the fix when weeds appear in old joints, which are almost always a sign the sand has washed out, covered in interlocking repair. If you are still choosing a surface or a contractor, the base under the pavers matters even more than the joints, laid out in interlocking 101. You can compare vetted installers near you, such as interlocking in Scarborough or Etobicoke, or see sand-and-seal pricing on the Toronto interlocking cost page.
Want the joints done right, or an existing haze fixed? Request a quote and compare up to three vetted local installers side by side. Your contact details only go to the one you pick.